The phrase ai enhance video covers several different jobs: upscaling a soft shot, reducing noise, repairing compression, extending a frame, sharpening details, or changing the visual character of footage. The useful question is not whether a tool can make a preview look better. It is whether the result remains believable after editing, color, sound, legal review, and client revisions. My conclusion is straightforward: use enhancement as a controlled finishing step, not as a rescue plan for weak source material.
A production team should begin with a short test sequence, a locked reference export, and a clear definition of “better.” Without those conditions, an ai enhance video workflow can create attractive pixels while quietly damaging faces, product labels, motion, or continuity. A five-second demo is not evidence that the process is ready for a campaign.
Define the enhancement before opening a tool
Start by identifying the actual defect. A 720p archival clip needs a different treatment from a 4K interview with rolling-shutter wobble. A dark product shot may need exposure and noise work before enlargement. A stock clip with heavy compression may need artifact reduction, but aggressive sharpening can turn blocking around a high-contrast edge into a digital halo.
Write the test brief in production language. Record the source resolution, frame rate, codec, color space, camera movement, and intended delivery format. Note whether the clip contains small text, skin, hair, fabric, reflective packaging, or fast hands. These details become failure checkpoints. If the deliverable is a 30-second social cut, test the exact vertical crop rather than judging only the original landscape frame.
For an ai enhance video comparison, export three versions: the untreated source, a conventional post-production pass, and the AI-assisted pass. Keep the bitrate and viewing size consistent. Editors and clients need to see whether the tool solved a problem or simply increased local contrast. The conventional pass matters because a denoise, upscale, or sharpen filter in Premiere Pro, DaVinci Resolve, or After Effects may already be sufficient and easier to revise.
Test the handoff, not just the preview
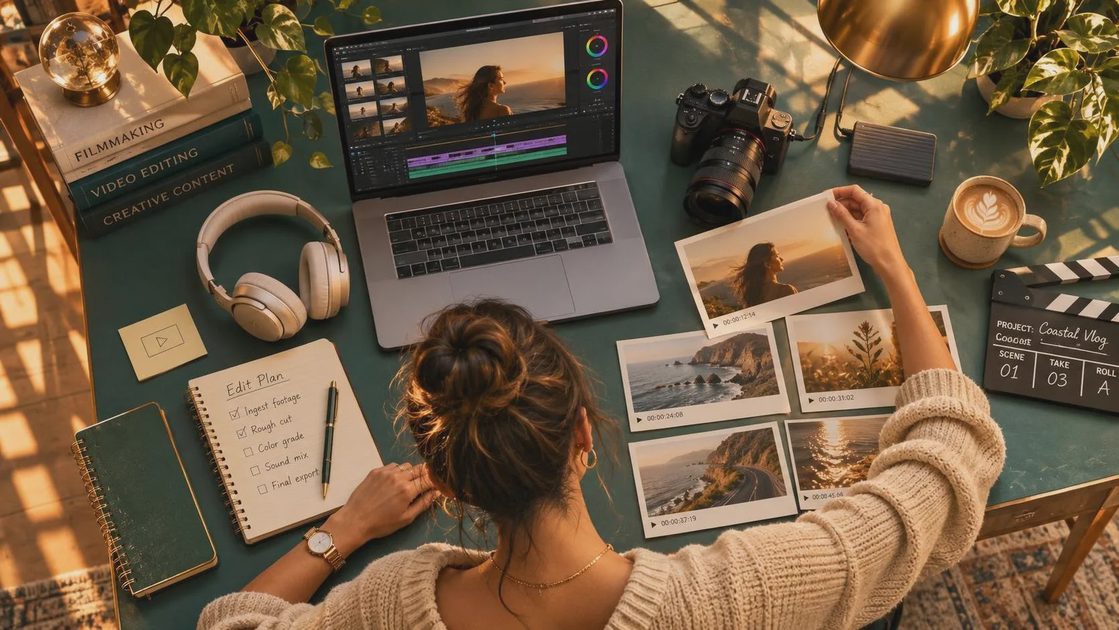
The first handoff test is editorial. Bring the enhanced clip into the same timeline as surrounding shots. Check cuts, speed changes, stabilization, reframing, and optical-flow processing. Enhancement artifacts often become visible when a shot is slowed down or pushed through a transition. A face that looks acceptable at normal speed can shimmer after a 50 percent slow motion treatment.
The second test belongs to compositing and finishing. Send an image sequence or a high-quality mezzanine file to the compositor, then ask whether mattes, tracking, grain matching, and keying still work. AI-created texture can confuse edge tools. Repeated patterns on hair, foliage, brick, and water can also reveal themselves when the shot is layered with graphics or a replacement background.
A practical ai enhance video test usually takes more labor than the button suggests. Someone has to prepare clean inputs, render multiple settings, compare frames, document the selected version, and replace it if the client changes the crop. For a small batch, expect roughly one to three hours of supervision for every ten to twenty short clips, excluding render time. Complex footage, long-form material, or frame-by-frame repair can take far longer.
Where enhancement commonly breaks
Faces are the obvious risk. A model may smooth pores, alter teeth, invent eyelashes, or make a low-resolution expression look subtly different. That problem is not limited to close-ups. A person in the background can acquire a different identity between frames. For commercial work, the result is a continuity issue and potentially a client approval issue.
Text and logos are another weak point. Enhancement systems often treat small lettering as texture, especially when the original image contains motion blur. Never assume a sharper-looking label is accurate. Rebuild important typography from the approved artwork, and use the enhanced plate only where it does not replace brand-critical information.
Motion creates a separate class of failures. Wheels, hands, hair, smoke, water, and thin cables can crawl or double. Review the clip frame by frame at 100 percent, then watch it at delivery size. Both views matter. Pixel peeping can exaggerate harmless noise, while a phone preview can hide a distracting temporal defect.
An ai enhance video workflow is particularly risky when the source is already unstable. If the camera shakes, the subject is out of focus, and compression has destroyed detail, stacking enhancement passes does not restore the original capture. It creates a new interpretation. Use the strongest source available, request the camera original when possible, and retain the untreated file in the project archive.
Build a revision-safe process
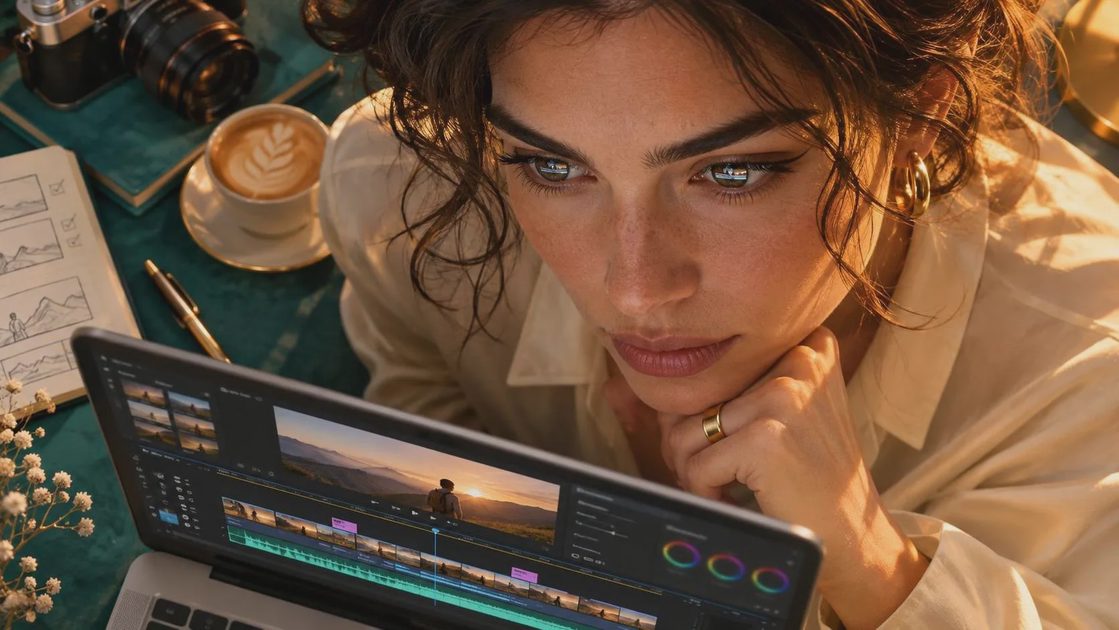
Version control is where many experiments fail. Give every render a predictable name that records the source clip, model or application, settings, date, and color treatment. Keep a contact sheet or review movie showing the alternatives side by side. A producer should be able to answer, “Which file did the client approve?” without opening six applications or relying on a local desktop cache.
For each selected shot, preserve the original, the preprocessed version, the enhancement output, and the final graded version. Store notes about masks, exclusions, and manual paint work. This makes a later change possible. If a client requests a tighter crop, the team can return to the appropriate stage instead of enhancing an already compressed review export.
The ai enhance video process should also include a stop condition. Stop when a face changes, a logo becomes unreliable, temporal artifacts persist after reasonable settings, or the labor exceeds the cost of recreating the shot through conventional means. A clean replacement plate, alternate take, or targeted VFX repair is often more defensible than another enhancement pass.
Cost the work before promising savings
Tool pricing is only one line in the estimate. Include upload and download time, storage, failed renders, review exports, color matching, editorial replacement, and producer oversight. A subscription that costs $30 to $100 per month can still produce an expensive result if every shot requires manual inspection and two rounds of cleanup. For a ten-shot test, budget a half day for setup and comparison, then add review time based on shot complexity.
The best ai enhance video candidate is usually a constrained batch: archival inserts, a handful of delivery-critical clips, or footage with a known resolution problem. It is not an entire campaign poured into an unfamiliar system on the day before delivery. Test two or three representative shots first, including the ugliest shot and the most brand-sensitive shot. If those survive the timeline, compositing, color, and client review, expand gradually.
The first move for a production team
This week, select five clips that represent real failure conditions. Include a face, a moving object, fine texture, small text, and a dark or compressed shot. Define the delivery target, create the three-way comparison, and have an editor, compositor, and finishing lead review the same files. Record what improved, what changed, and how long the work took.
Then make a narrow decision. Approve the workflow for a named class of shots, revise the preprocessing requirements, or reject it for that project. Do not generalize from one beautiful frame. The useful output is a repeatable handoff with known limits, documented labor, and a rollback path. If it cannot survive the handoff, it is not a workflow yet.


No letters yet — be the first to write.